Configure your Email on iPhone (iOS) and Android
With the wide variety of email clients available for Android and iPhone, choosing the right one can be a matter of personal preference.
In this article, we'll explore Webzi's recommendations for setting up your email on both platforms.
iPhone (iOS)
The default client on iPhone is Apple's MAIL, known for its minimalist design. To learn how to set up your email in MAIL, check out our article: Configure your email account on iPhone (Mail).
Additionally, we recommend two excellent alternatives: Spark and Outlook.
Setting Up Spark for iPhone
1. Open Spark and select the three lines at the top to access "Settings".
2. Choose "Mail Accounts" and select "Add Account".
3. Opt for "Set Up Manually" and enter your account details.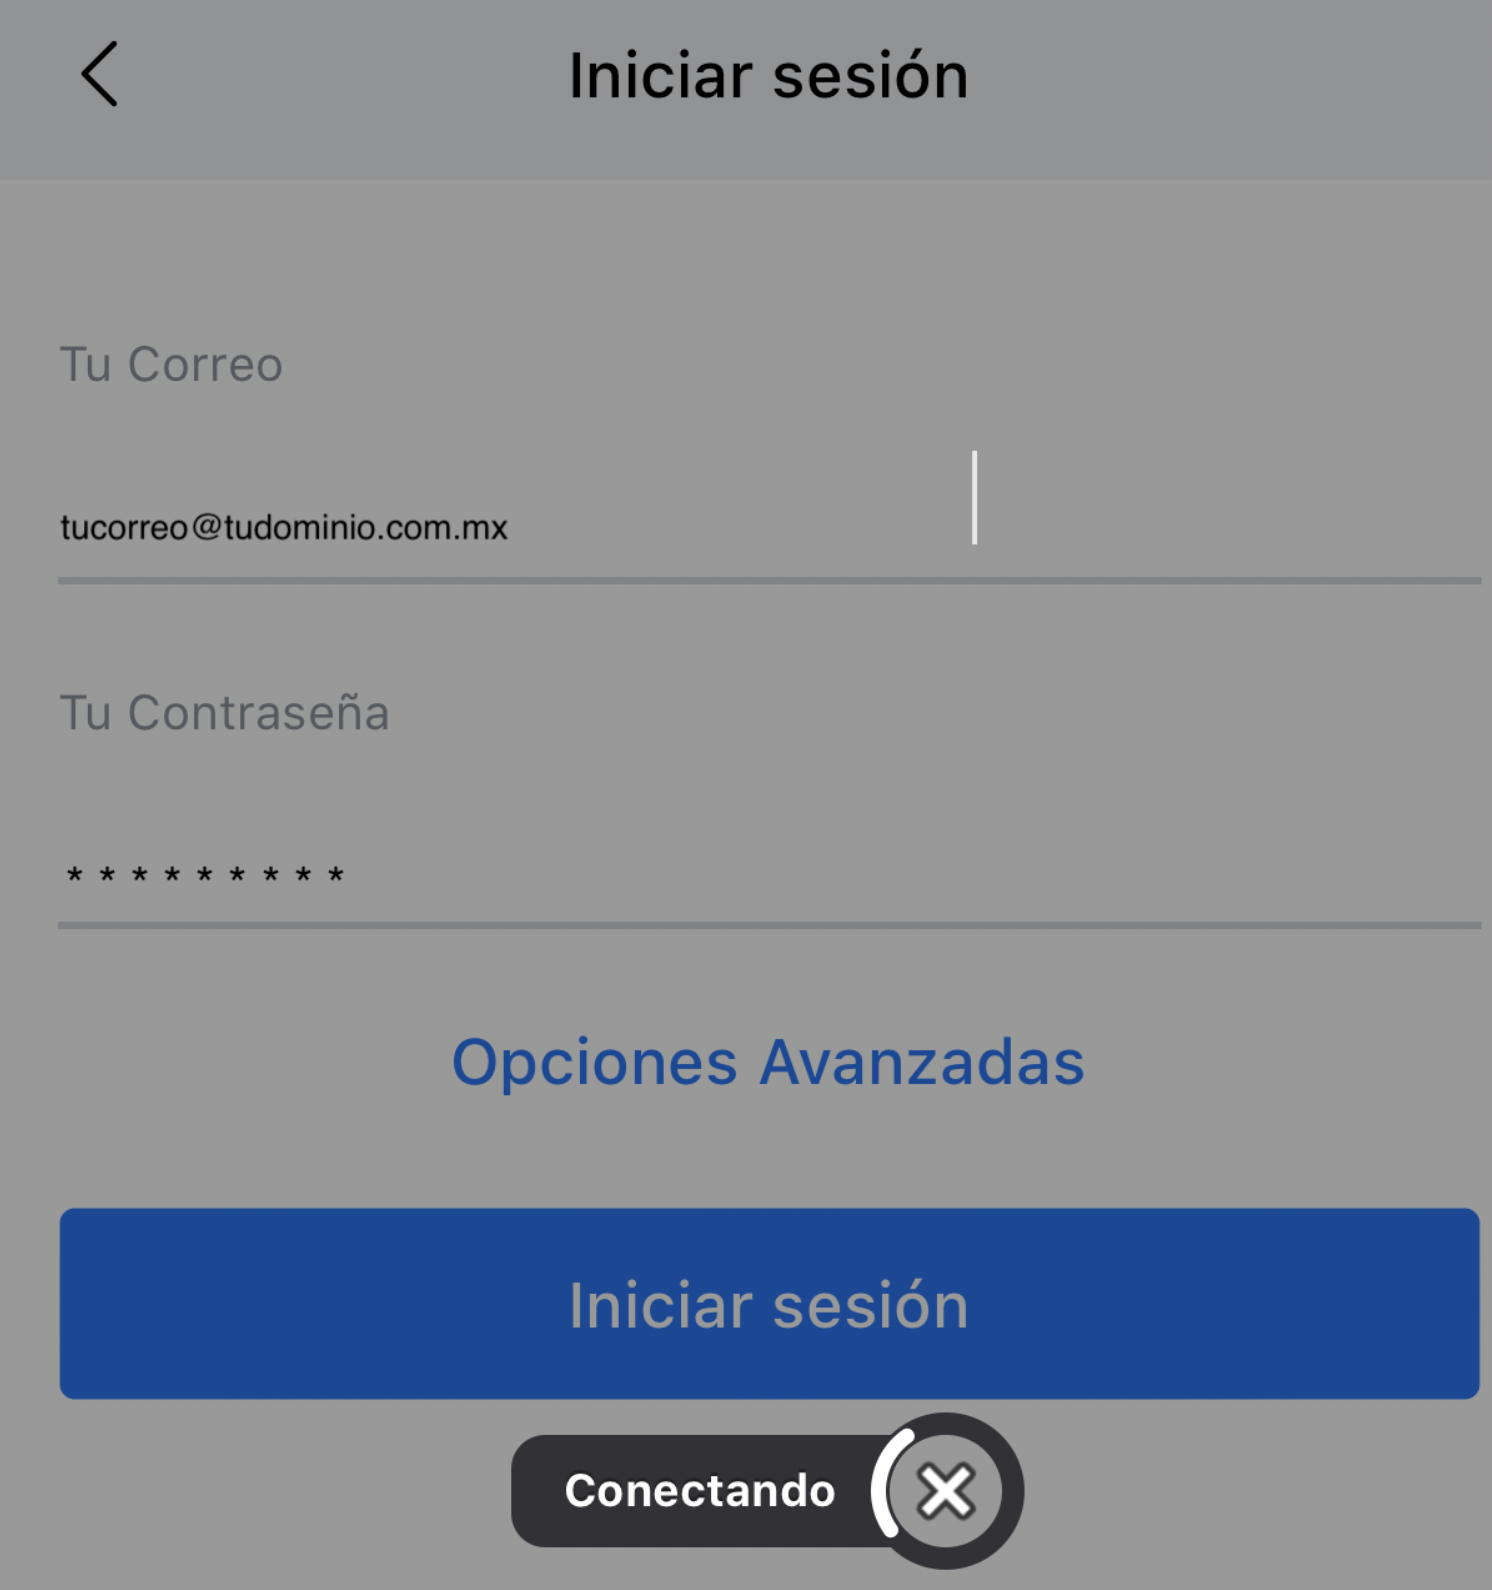
4. Log in to allow Spark to automatically detect the necessary settings.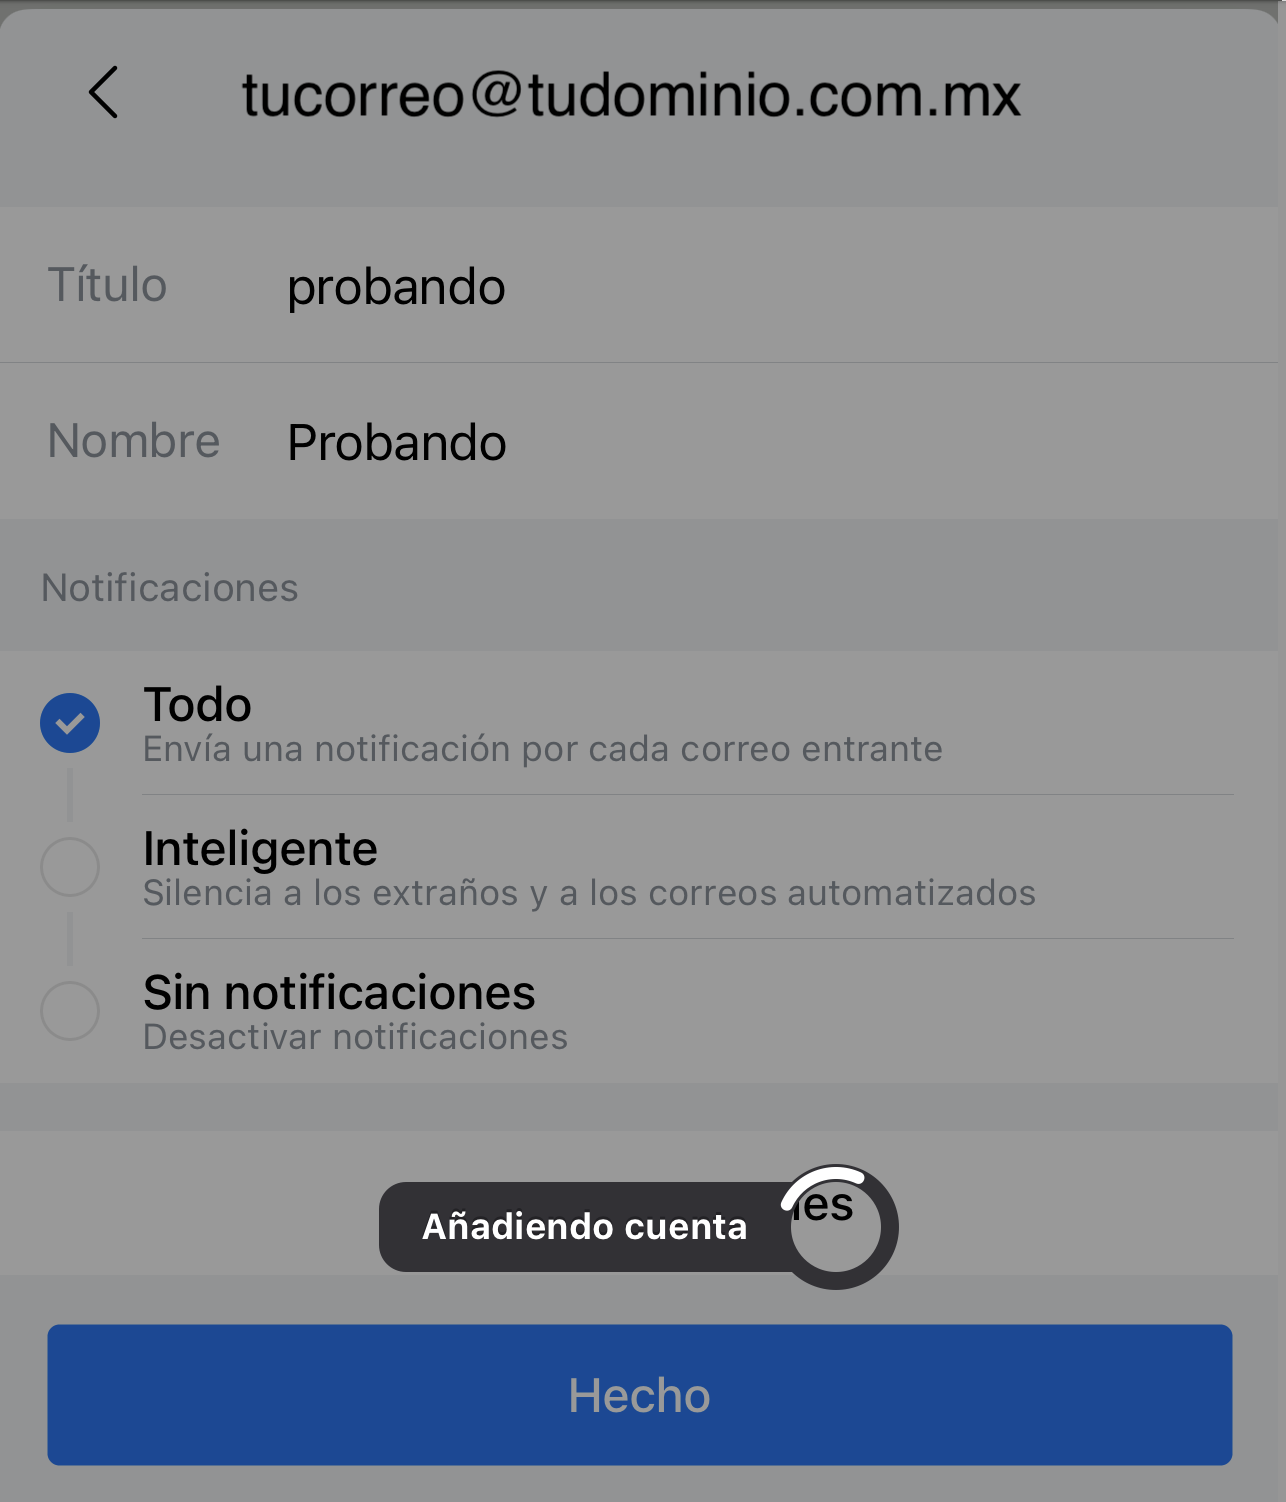
Alternatively, you can opt for manual configuration with our detailed article at
5. Finish by entering your name and selecting "Done".
Setting Up Outlook for iPhone
1. Open Outlook, click on the "home" icon, and then the settings gear.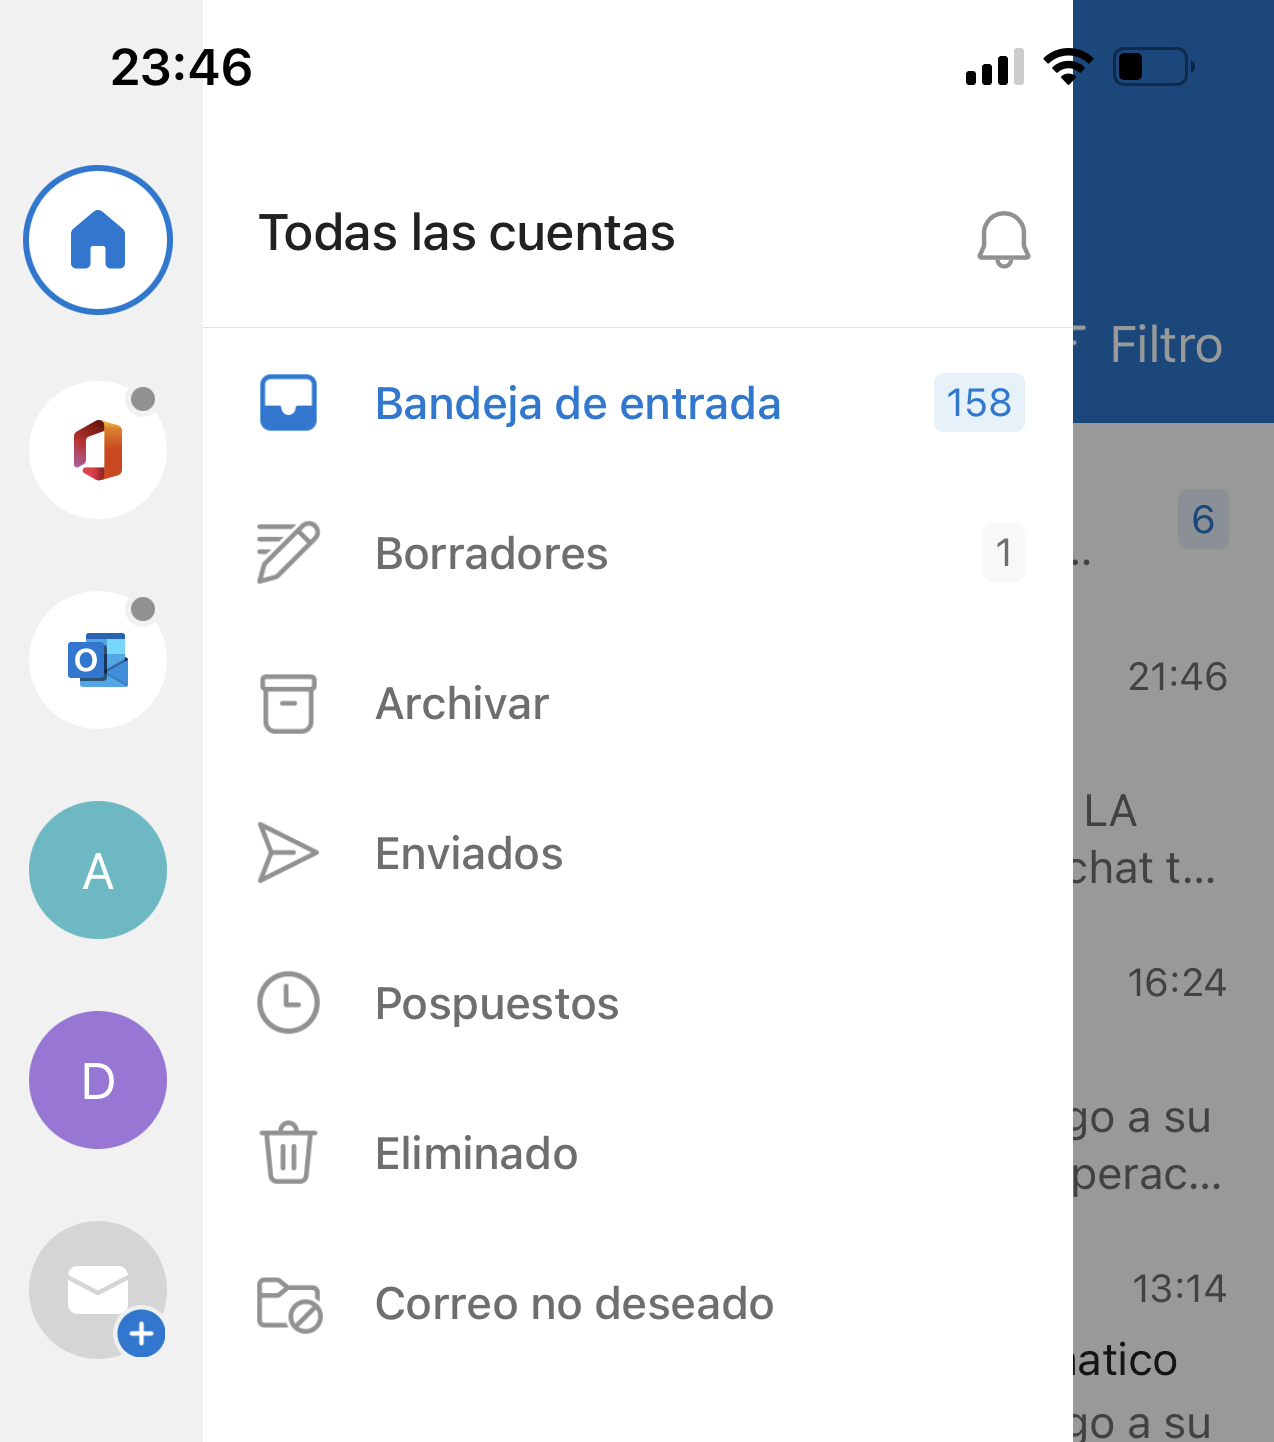
2. Select "Add Account" > "Email Account" and enter your email address.
3. Outlook will automatically recognize it as an IMAP account, filling in most fields. Be sure to enter your password for both incoming and outgoing servers.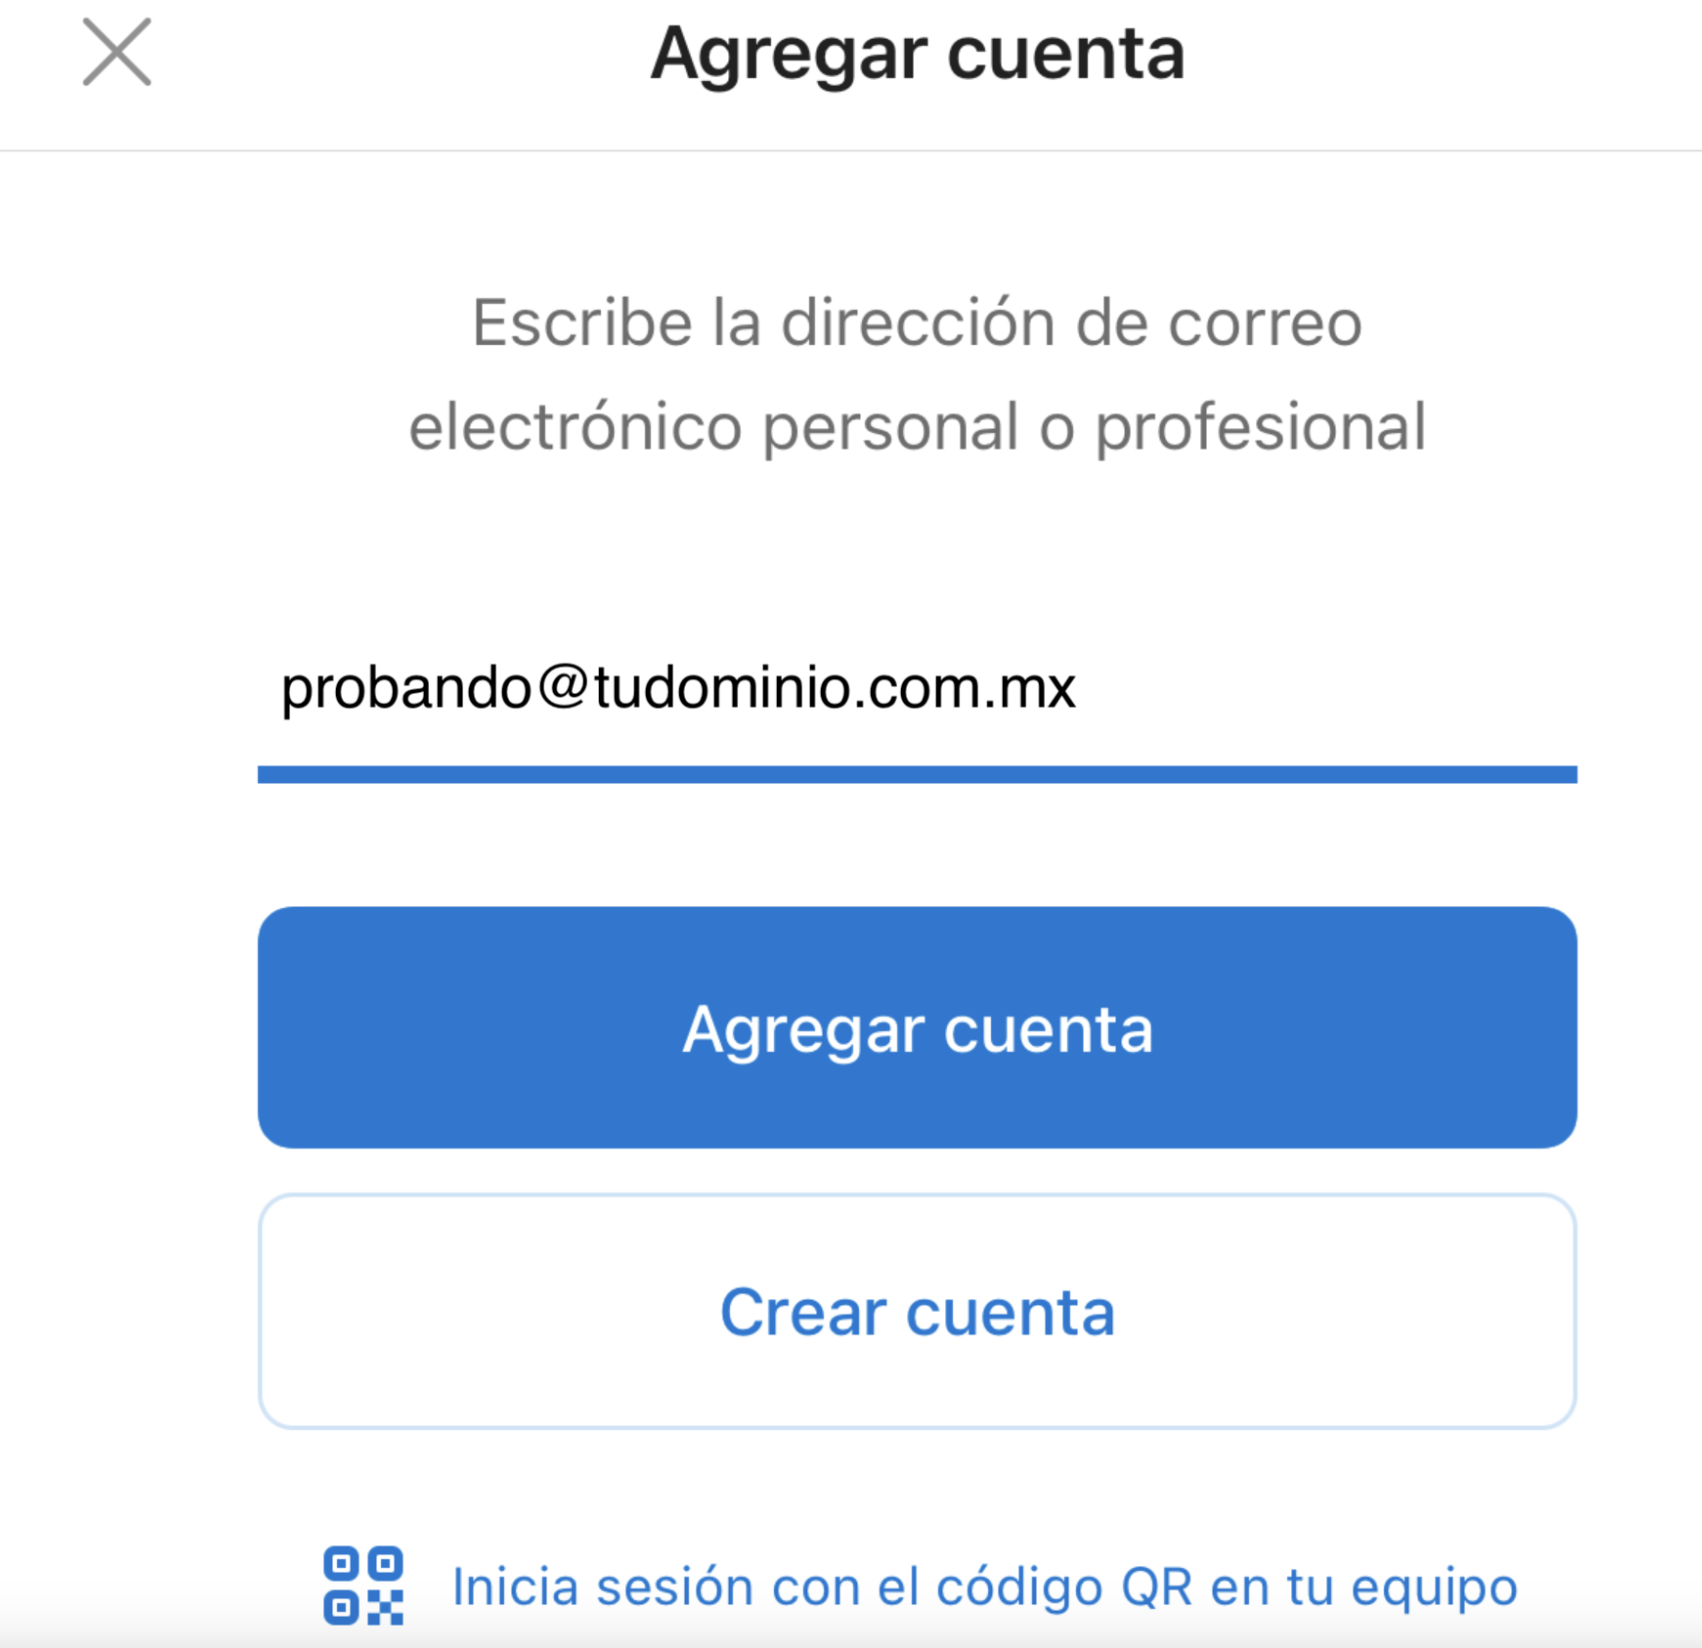
Android
Since each Android brand has its own interface and default email clients, ensuring universal configuration is complicated. However, if you're willing to set up your email manually, we invite you to check out our article on [POP3 and IMAP configuration ports](#).
We recommend using Spark or Outlook, which are some of the best email clients on the market.
Setting Up Spark for Android
1. Open Spark, access the top three lines to go to "Settings".
2. Select "Mail Accounts" and then "Add Account".
3. Choose "Set Up Manually" and enter your account details.
4. Log in for Spark to automatically detect the settings. If you prefer, opt for manual configuration following our detailed guides.
5. Complete the process by entering your name and selecting "Done".
Setting Up Outlook for Android
1. Open Outlook, tap the "home" icon, and then the settings gear.
2. Click on "Add Account" > "Email Account" and enter your email address.
3. Outlook will automatically identify it as an IMAP account and fill in most of the details. Don't forget to enter your password for the incoming and outgoing servers.
Related Articles
Set Up Your Email on iPhone (Mail)
In this tutorial, we will show you how to set up your Webzi email account on your iPhone using the native Mail app. Add a New Account 1. Open "Settings" on your iPhone. 2. Go to "Accounts" and select "Add Account". 3. On the next screen, select ...Email Client Configuration
This manual will show you all possible configurations —both automatic and manual— to connect an email account created in cPanel with email clients on computers and mobile devices. Note: Before you begin, make sure you have created the email account ...How to Create an Email Account in cPanel (Step-by-Step Guide)
This article clearly and thoroughly explains how to create a new email account in cPanel step by step. 1. Log in to cPanel Access your cPanel control panel using your access URL (for example: yourdomain.com:2083) and your credentials. 2. Go to the ...Connect your email in Microsoft 365 (exchange)
To configure email sending from your cPanel server to Microsoft 365, you need to follow several steps, including DNS setup and updating the records to ensure emails are correctly handled. Access cPanel Log in to your cPanel account. Go to the Email ...Configure your email account in Microsoft Outlook
In this tutorial, we'll show you how to set up your Webzi email account in Microsoft Outlook. 1. Open Microsoft Outlook: - Open Microsoft Outlook and go to File > Add account. 2. Enter Account Information: - Enter your email address and check the box ...