Connect Visual Studio Code to cPanel via SSH
Connecting Visual Studio Code to your cPanel hosting service is a simple task using the Remote - SSH plugin.
If you haven't installed this plugin in VS Code yet, go to the Extensions icon on the left sidebar (or press
Ctrl + Shift + X) and search for "Remote - SSH". Once installed, you can continue with this guide.Create a connection key from Windows
Open the terminal on your computer (CMD) and type the following command:
ssh-keygen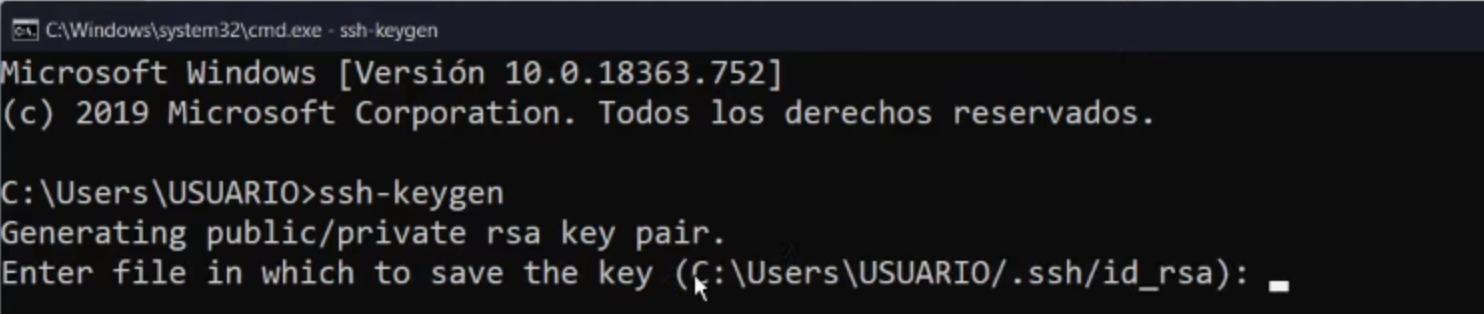
- You will be asked for a key name. You can assign any name you prefer.
- Next, you will need to enter a password (passphrase) twice. We recommend leaving it empty and pressing Enter twice.
- Navigate to the directory
C:\Users\YOUR_USER\.sshwhere you will find two generated files: your public key (.pub) and your private key. - Open both files with any text editor and copy their contents. You will need them in the next step.
Import key in cPanel
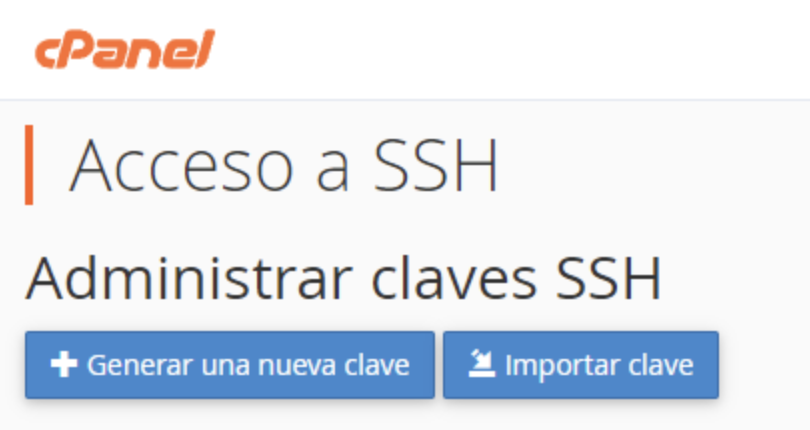
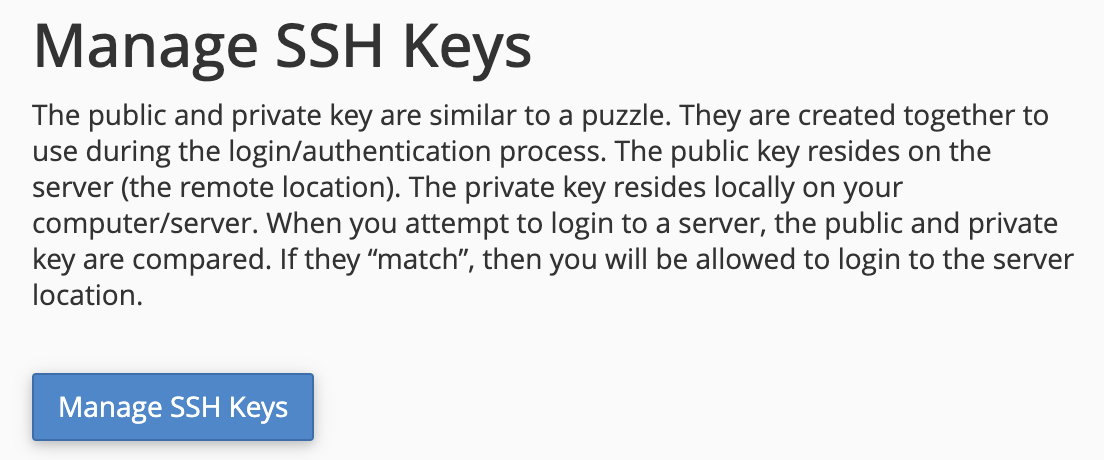
- Log in to cPanel and look for the SSH Access option.
- Click on Manage SSH Keys and then on the Import Key button.
- Assign the same name you used when generating the key in CMD.
- Paste the contents of the private key and public key in the corresponding fields.
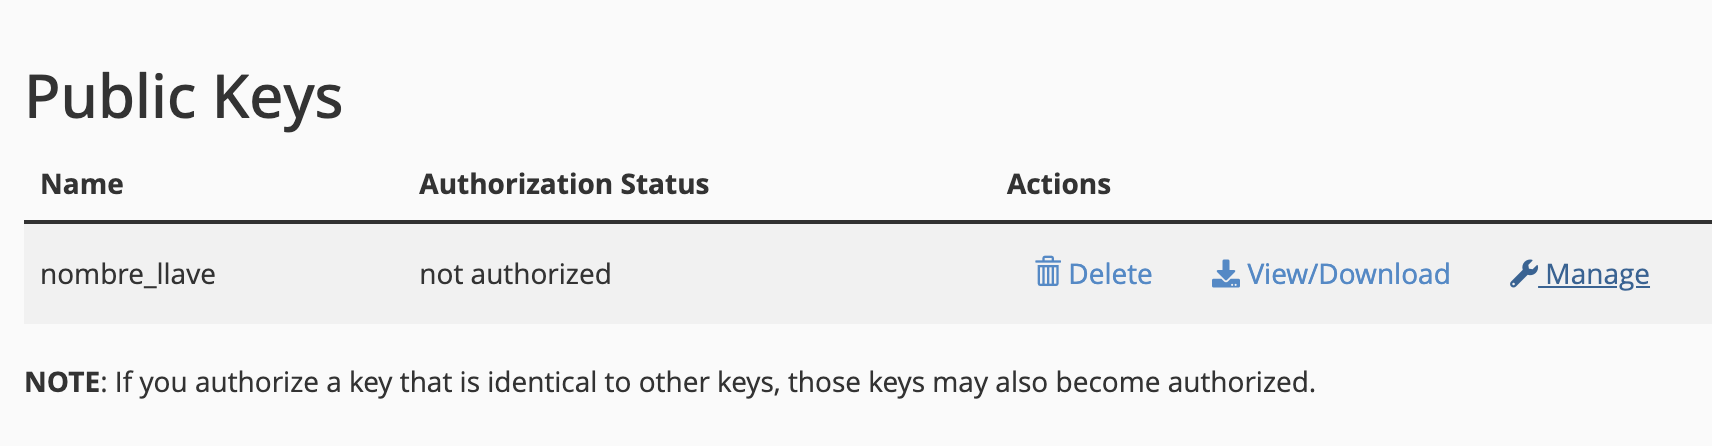
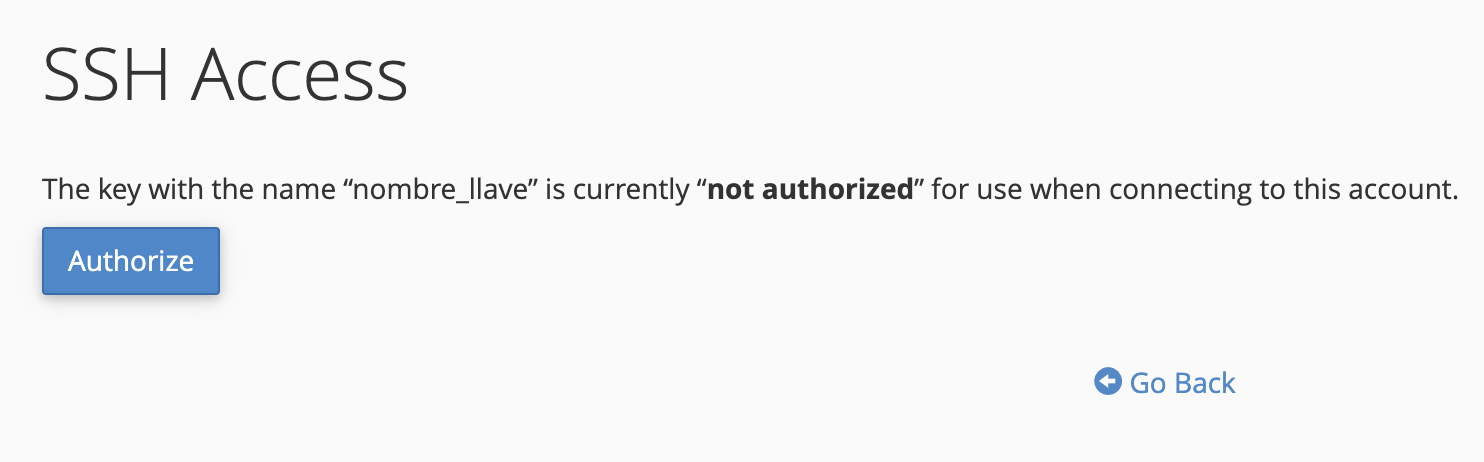
- In the Public Keys section, click Manage and then the Authorize button.
Your key is ready to use.
Generate key in cPanel (alternative method)
If you prefer to generate the key directly from cPanel instead of importing it:
- Log in to cPanel and type "SSH" in the search bar. Click on Manage SSH Keys.
- Click on + Generate a new key and fill in the form: assign a name to your key, set a password, and click Generate Key.

- Click Manage to authorize the key and then select Authorize.
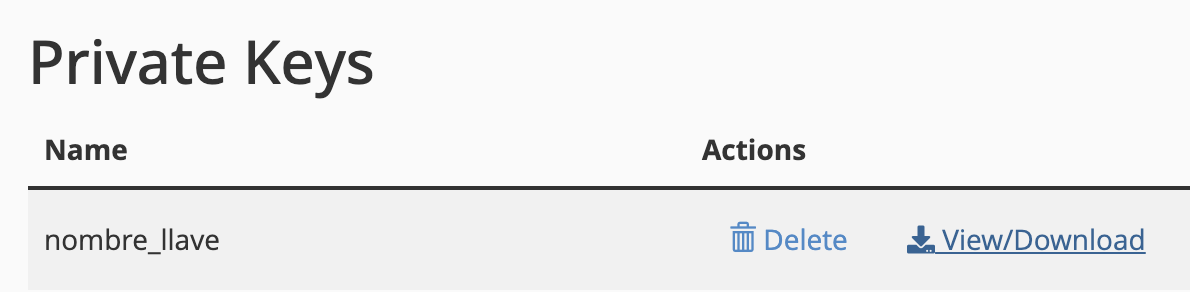
- Click View/Download and download the private key using the Download button.
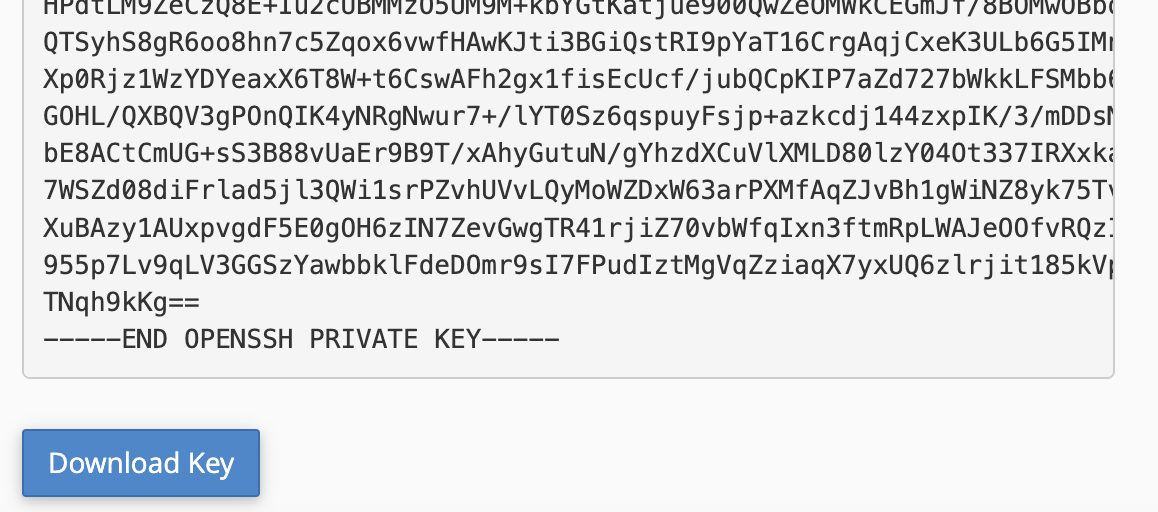
- Save the file in a permanent folder on your computer. You will need this path to configure VS Code.
Connect Visual Studio Code on Windows
- Open VS Code and press
F1. - Select Remote-SSH: Open SSH Configuration File.
- Add the following configuration:
Host yourdomain.com HostName yourdomain.com User your_cpanel_user IdentityFile C:\Users\YOUR_USER\.ssh\key_nameReplace the values in the block above with your actual domain, cPanel username, and path to your private key.
- Press
F1again and select Remote-SSH: Connect to Host. Choose the host you just configured. - Once connected, click on Explorer (
Ctrl + Shift + E), select Open Folder, and choosepublic_html.
Done! You are now connected to your server from Visual Studio Code.
Connect Visual Studio Code on Mac
- Right-click on the downloaded key file, hold the Option key, and select "Copy as Pathname".
- Open the Terminal and adjust the file permissions:
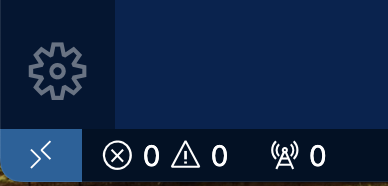
chmod 0700 /full/path/to/your/key- Open VS Code and click the remote connection icon in the bottom-left corner (it looks like ><).
- Select "Connect to Host" and then "Configure SSH Hosts...". Choose the file
/Users/YOUR_USER/.ssh/config.

- Add the following configuration and save the changes:
Host MySite HostName yourdomain.com User your_cpanel_user IdentityFile "/full/path/to/your/key"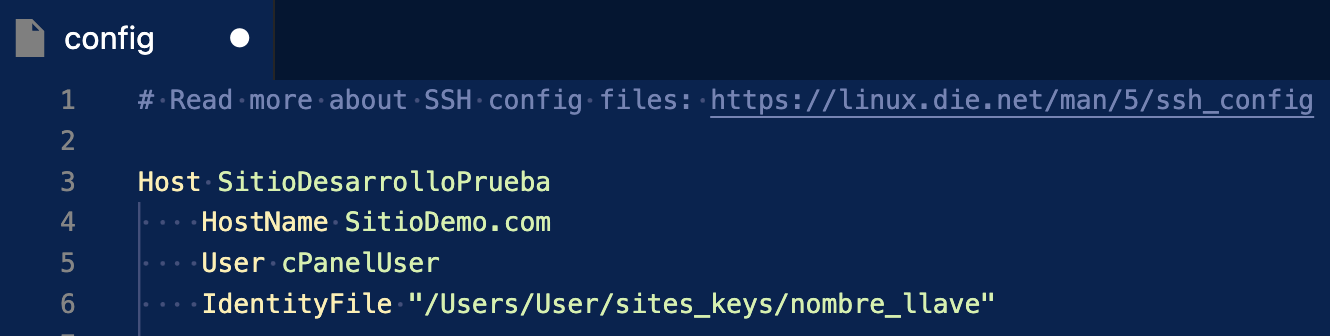
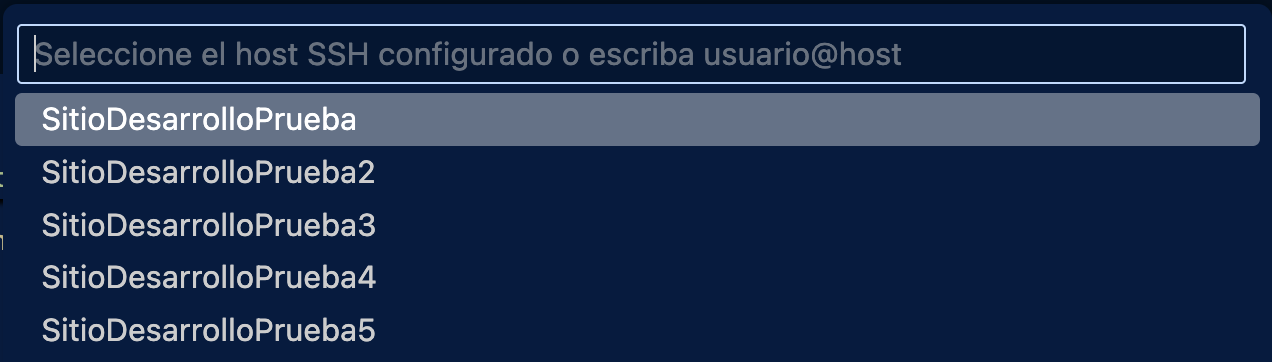
- Repeat step 3, select "Connect to Host..." and choose the host you just created. You will be asked for the password you set when creating the key in cPanel.

Wait for the connection to be established and you're all set! You can now work on your server directly from VS Code.
Related Articles
How to Block IP Addresses in cPanel to Protect Your Website
Not all traffic reaching your website is legitimate. Malicious bots, unauthorized access attempts, and brute force attacks are common threats that can compromise the security and performance of your server. Blocking unwanted IP addresses is one of ...How to Fix cPanel "Loading Your Email Accounts" Slow Issue
Is your cPanel stuck "loading" forever when searching for email accounts? Do you see the "Loading your email accounts..." message for several seconds or even minutes? You are not alone! We have discovered the solution to this problem that affects ...How to Create Full and Partial Backups in cPanel
Having up-to-date backups of your information is invaluable for the continuity of any project or business. At Webzi, we maintain a robust and well-defined backup policy. As part of our service and at no additional cost, we perform automatic backups ...How to Set Up a Remote MySQL Connection in cPanel
With the growing need to access databases remotely to manage applications and websites, setting up a remote MySQL connection has become an essential skill for developers and system administrators. This tutorial will guide you step by step through the ...PHP Versions and Extensions in cPanel
At Webzi, we provide the most popular PHP versions and allow users to select the extensions needed for their development. Below we explain how to do it: Log in to the cPanel control panel using your administrator credentials. Inside cPanel, look for ...