Set Up Your Email with Google Workspace (Google Apps)
To configure your domain's email with Google Workspace (formerly Google Apps), you need to update the DNS records, specifically the MX records, so that email is routed to Google's servers.
1. Access cPanel
- Log in to your cPanel account.
- Find the Domains section and click on Zone Editor.
2. Edit the DNS records
- On the Zone Editor screen, find the domain you want to configure for Google Workspace.
- Click Manage next to the domain to access the DNS record editor.
- In the filter, select "MX" and you will see something similar to the following:
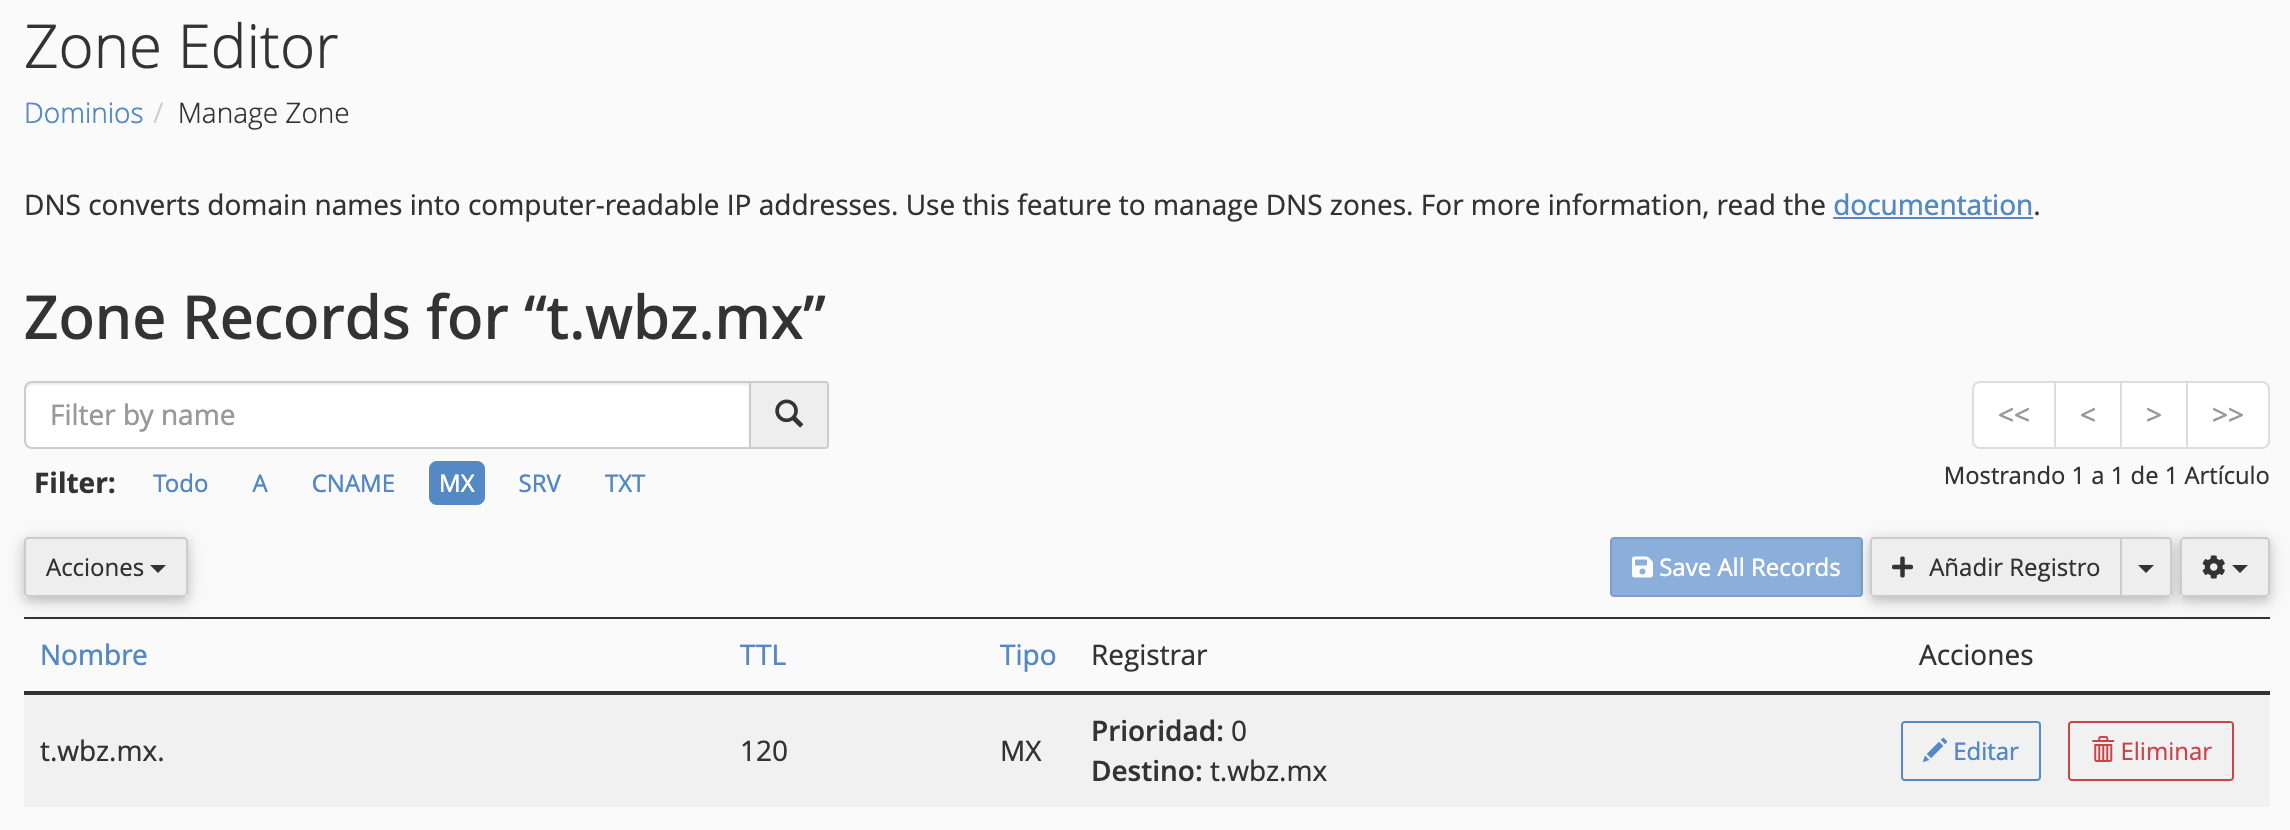
3. Delete the existing MX records
Before adding Google's MX records, delete any existing MX records. This is done by clicking the red "Delete" button.
4. Add Google's MX records
The MX records required to route the email service to Workspace are the same for all domains; therefore, you must use the following:
| Priority | MX Server Record |
|---|---|
| 1 | ASPMX.L.GOOGLE.COM. |
| 5 | ALT1.ASPMX.L.GOOGLE.COM. |
| 5 | ALT2.ASPMX.L.GOOGLE.COM. |
| 10 | ALT3.ASPMX.L.GOOGLE.COM. |
| 10 | ALT4.ASPMX.L.GOOGLE.COM. |
Now that you have the MX record information you need to add, follow these steps for each record you are going to create.
- Click Add Record.
- In the record type field, select MX.
- Name, enter: yourdomain.com
- TTL, enter: 120
- Type, enter: MX
- Priority, assign the corresponding priority (for example, 1 for ASPMX.L.GOOGLE.COM.).
- Destination, enter the MX server (for example, ASPMX.L.GOOGLE.COM.).
- Save the changes.

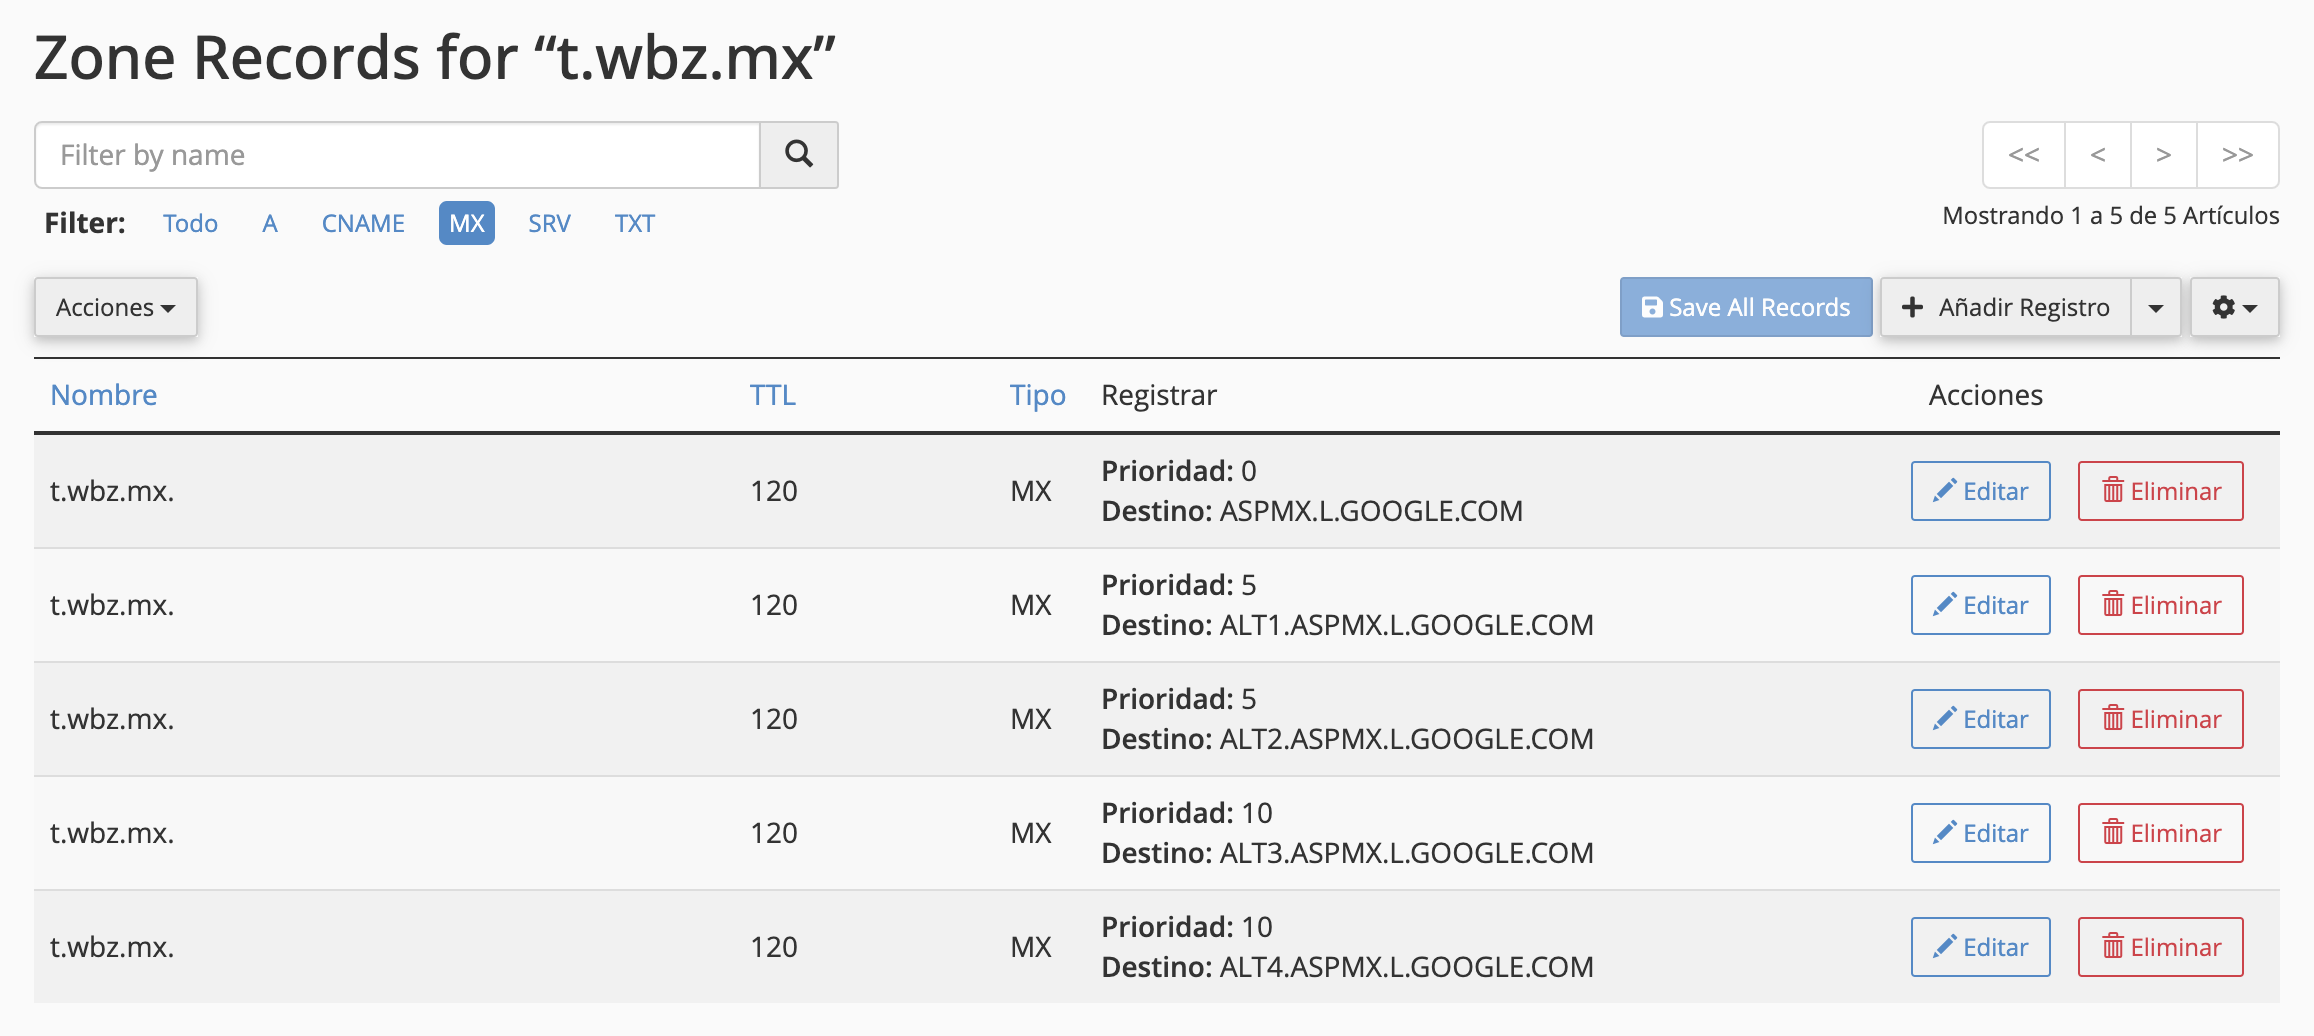
This is how your DNS table should look once you have finished creating all the records.
After adding the records, DNS propagation can take up to 48 hours, but it usually completes within a few minutes.
Once this is done, all email for your domain will be routed to Google Workspace servers.
Related Articles
Email Client Configuration
This manual will show you all possible configurations —both automatic and manual— to connect an email account created in cPanel with email clients on computers and mobile devices. Note: Before you begin, make sure you have created the email account ...How to Create an Email Account in cPanel (Step-by-Step Guide)
This article clearly and thoroughly explains how to create a new email account in cPanel step by step. 1. Log in to cPanel Access your cPanel control panel using your access URL (for example: yourdomain.com:2083) and your credentials. 2. Go to the ...Set Up Your Email on iPhone (Mail)
In this tutorial, we will show you how to set up your Webzi email account on your iPhone using the native Mail app. Add a New Account 1. Open "Settings" on your iPhone. 2. Go to "Accounts" and select "Add Account". 3. On the next screen, select ...Set Up Your Email Account in Mozilla Thunderbird
In this tutorial, we will show you how to set up your Webzi email account in Mozilla Thunderbird. 1. Open Mozilla Thunderbird: - Open Mozilla Thunderbird and click on "Email". 2. Enter Account Information: - Enter your name, your email address, and ...Connect your email in Microsoft 365 (exchange)
To configure email sending from your cPanel server to Microsoft 365, you need to follow several steps, including DNS setup and updating the records to ensure emails are correctly handled. Access cPanel Log in to your cPanel account. Go to the Email ...